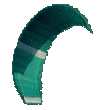
 This is the form I gave to my air intakes. This is the form I gave to my air intakes.
I used 3 of them on bottom skin in cell 10, 12 and 14 (cell 12 is the middle cell).
All air intakes are large enough to fit the cell and placed 1 cm under the leading edge sewing.
In next kite (of this size and shape) I'll make more air intake (5) as I think that good inflation is really essential for a sled to work properly.
 Here you can see the air intake hole made with a soldering iron. Here you can see the air intake hole made with a soldering iron.
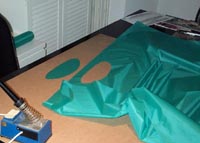
Note that cells from 10 to 14 are a single piece of fabric in lower skin.
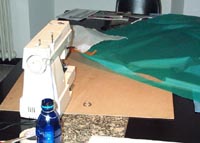 Here the sewing job. Here the sewing job.
Pretty easy at this stage.
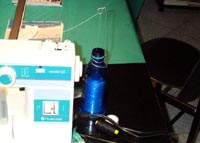 As the thread spool was to big to fit on the machine rest I placed it in a bottle and made a guide with some metal wire. As the thread spool was to big to fit on the machine rest I placed it in a bottle and made a guide with some metal wire.
This metod feeds the sewing machine well and induces only a littel torsion in the thread that disappear when you free the thread after 4 or 5 long sewing.
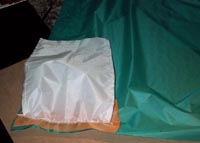 This pic shows the internal valve originally long 45 cm. This pic shows the internal valve originally long 45 cm.
After the first flight test I've reduced it and now is about 25 cm long.
You can also see the orange mesh closing the air intake.
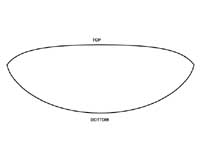
. ---> 5- TOP & BOTTOM
|