 Next step is to join all lower panel togheter to make bottom skin, then do the process again for the upper skin. Next step is to join all lower panel togheter to make bottom skin, then do the process again for the upper skin.
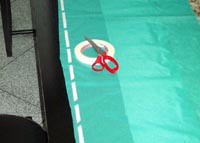
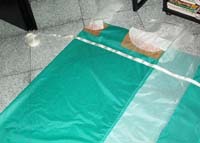
Here you can see a lower skin panel with tape.
Using tape let you position both pieces of fabric more accuratly, make esear the sewing process and add waterproof ability to your kite.
A minus is it also make your needle sticky and you have to clean it after 2-3 long sewing.
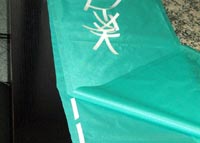 In this second pic you see the placement of the adiacent cell. In this second pic you see the placement of the adiacent cell.
Keep i mind you want all excess of fabric to be in the internal part of your kite so do your thinking before sewing.
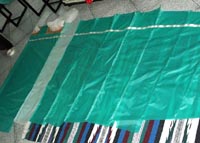 After all the bottom skin where assembled I placed the reinforcement straps. After all the bottom skin where assembled I placed the reinforcement straps.
On bottom skin there are 2 straps running parallel across the kite from tip to tip (1 from front tip Attachment Point to the other front tip A.P. and 1 from rear A.P. to rear A.P.)
I also sewed a line (60 kg dynema) from the front Attachment Point to the 5° rear cell.
Top skin has webbing from front tip Attachment Point to the other front tip A.P. and again dynema from rear A.P. to rear A.P (this time running 8 cm along the TE).
I find a lot esear to sew the webbings and in next kites I'll abandon the dynema bridle.
Webbings are sewed with a loose 3 pass zig zag as suggested by Will
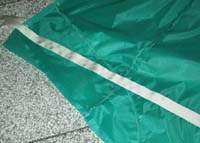
 In this pic you see the placement of the webbing. In this pic you see the placement of the webbing.
 Reinforced the tips at Leading edge adding on top and bottom skin an additional layer of fabric. Reinforced the tips at Leading edge adding on top and bottom skin an additional layer of fabric.
Later I decided to add also a small strip of dacron.
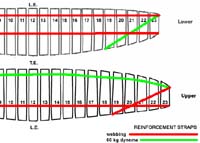 Here a scheme of the placements of reinforcement straps. Here a scheme of the placements of reinforcement straps.
---> 6- RIBS
|