 I decided to sew ribs to top skin first. I decided to sew ribs to top skin first.
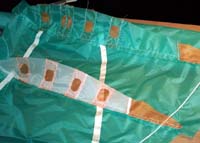
The upper part of each rib Has is more curve so more difficult to sew and I wanted to do the hardest job with bottom skin disconnected from top skin.
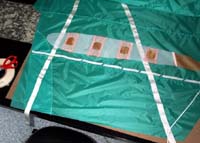
Once again I used the tape and sew technique stopping the sewing only 2 cm before leading edge(to easy top and bottom conjunction).
I started all sewing at LE and ribs where sewed from left tip to center.
 Notice that all ribs have sewing tolerance pointing to left. Notice that all ribs have sewing tolerance pointing to left.
This allow you to have all tolerances in the rigth side (internal) when you later will sew ribs to bottom skin.
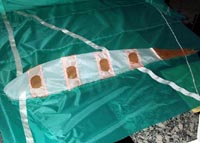
Using this technique made my job quite easy even with all that fabric to manage.
 View of ribs sewed to top skin. View of ribs sewed to top skin.
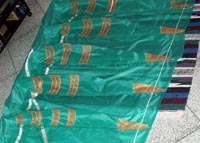 All ribs attached to top skin. All ribs attached to top skin.
---> 8- CLOSING
|