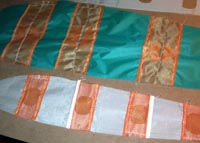
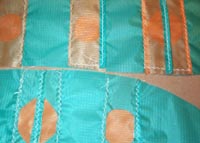
 Ribs.Here is where i began to be really creative. Ribs.Here is where i began to be really creative.
I wasnt really shure how to make them.
I only was shure i wanted the better inflation possible (so bigger holes) and strong ribs as i dont wanted to see my kite stretch or tear (so smaller holes).
Solution to this problems was to make quite big vents reinforced with mesh and plied fabric strips.
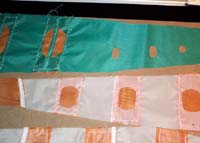
I also made the last segment of every rib (last 15 cm) of mesh.
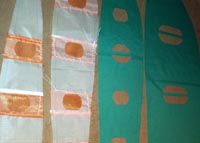
This involved a lot of work and also some additional weight I'm now convinced is not necessary.
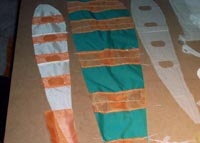 In next kite I'll go for no holes at all. In next kite I'll go for no holes at all.
I'll use mesh to do a central section of the rib (about 20 cm) and another section at the end in the trailing edge (again 20-25 cm).
Maybe I'll put 2 vertical strips of fabric to add more strength.
I'm shure this would do the job without compromising kite integrity.
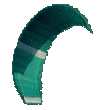
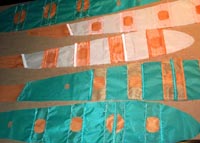
Here you can find a gallery showing my doubts on wich kind of shape my vents should be.
Now I've see the kite inflated I now all this work but next time I'll go for a more rational approach. Ah ! When you cut the ribs remember to mark with a pen the point where the sewing will start at Leading edge. ---> 7- ASSEMBLING
|